
You must have wondered how you can repair faucets, toilets, bathrooms, kitchens, etc. yourself and reduce water costs while reducing costs. Follow the article below to check the steps of repairing and replacing parts.
First of all, we must say that although the methods are generally the same, but with these interpretations, the steps for each valve may be different according to their shape and model. However, for you Hao Ken Yu users, two of the most widely used models of faucets are simple faucets with two faucets (mixed faucets) that are used in some kitchens and bathrooms, as well as the lever type. You will teach. Stay with us.
1. First, cut off the water flow.
Before attempting to repair or replace faucets, you should go to the main faucets. If you are able to turn off the water behind these valves, do so, and if not, it is better to cut off the main stream or the main water inlet with a tap.
2. Open the valve heads.
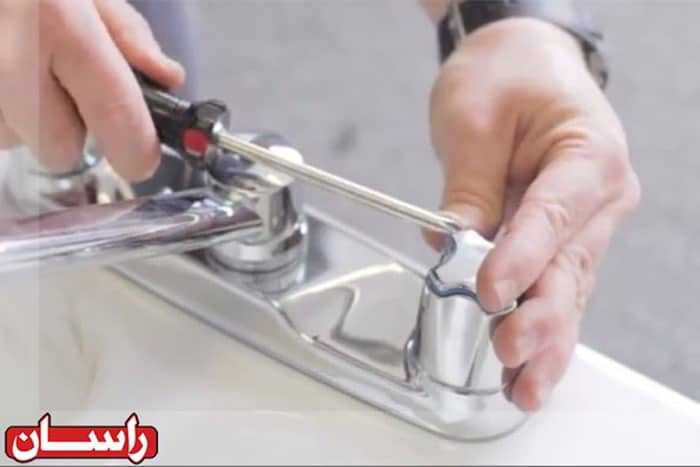
The next step is to loosen the screws on the valve head. These screws are usually hidden under a cover, and this cover is also a piece of plastic with red and blue or hot and cold tap on it. Using a knife or the same double-sided screwdriver, you can remove these covers from their place to access the screws.
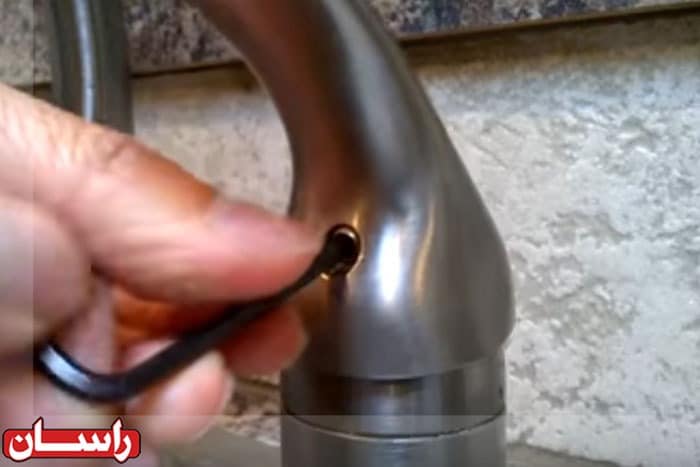
Note that for lever valves you do not have to deal with these covers and with an Allen wrench you have to loosen the screw that is usually under the lever.
3. Loosen the screws

After removing the covers and seeing the screws, open the screws with a suitable screwdriver. In these steps you will be able to loosen the screws. Probably due to rust or accumulated masses, opening them a little will require power. Finally, by opening them, you will remove the screw heads.
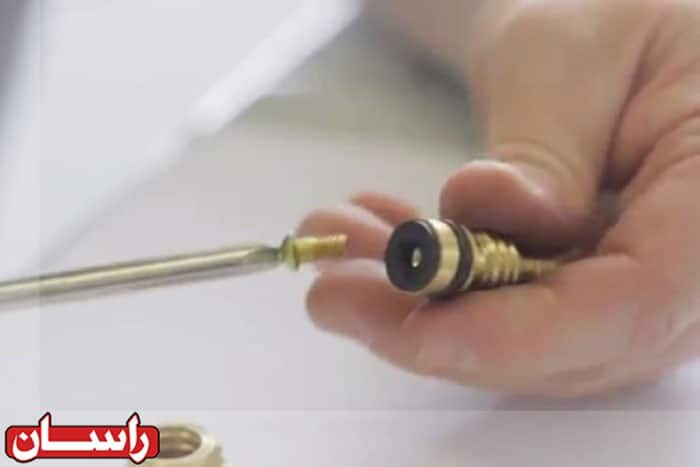
4. Open the brain or cartridge
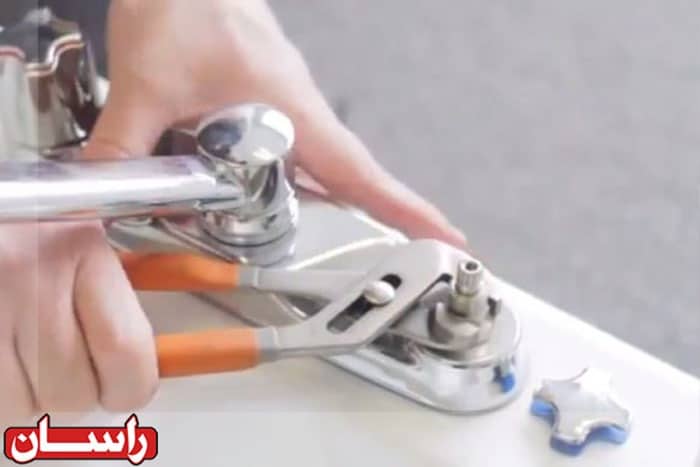
After removing the screw heads, it is time to open the nuts or cartridges. In both cases, you have to open these brains, whether you have decided to completely replace the head or repair it. To open them, you must use a French wrench or similar wrenches and try to open them.
For lever valves, you must open the upper part indicated in the picture. You can use a wrench to do this. In some pyramid valves, there is a plastic part inside it, which you have to open by hand before opening the metal part.
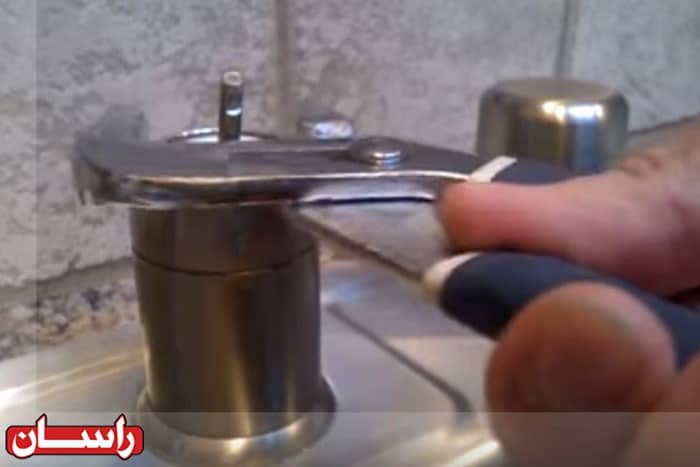
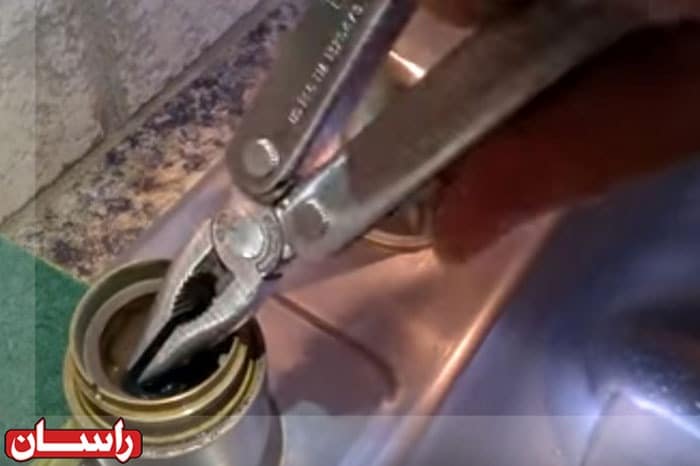
5. Replace new washers
Most of the problems related to water dripping are usually related to the washers on these nuts. Depending on the type of valve and the nut, there are one to three different gaskets on each one, which you can easily replace each of these gaskets with a new and healthy gasket, which will eventually require the opening of a screw. If you are sure that the problem will not be solved with the washer or you want to repair it, all you have to do is buy a new core and replace it.
For pyramid valves, as shown in the picture, the location of the washers is different, and you have to remove each one with a demarcation to replace it. To buy washers, be sure to mention the type of valve to get the right washer
6. Put everything in its place
Now that you have solved the problem, all you have to do is go through all the steps in reverse and close all the items again. This will eliminate the problem of leaking your milk.
We hope this article has solved the problem of dripping dishwasher, sink, toilet, bathroom, etc. taps.
Leave a Reply